
Hey, everyone! Welcome to another episode of Sparks Unlocked, the Musical, a place where we read, crochet, knit, and gaze at the moon. Today, we’re going to learn how to crochet an easy scarf. Whether you are an absolute beginner who is looking to get into crochet for the first time, or an intermediate or advanced crocheter who is looking for a relaxing project, this post is for you.
This crochet tutorial includes only two stitches: stacked single crochet and double crochet, worked in the back loop only. The repetition makes it a perfect crochet project for crafters who want something simple. The two stitches make for an easy and stress-free project for beginners who want to get started on a crochet project as soon as possible.
This post includes the written instructions and video tutorial for this scarf. Feel free to use the written and video portions separately or together, depending on your preferred learning method.
A poll was taken from two separate audiences and each audience had different answers when it came to preferring tassels or no tassels for their crochet scarf. This tutorial includes steps for both options to satisfy your tassel or tassel-free needs!
- 1-2 skeins of Bernat Forest Green Yarn
- 5.0 mm Crochet Hook
- Embroidery scissors
- Stitch markers
- Weaving (finishing) needle
- Measuring tape
- Stitch counter (optional but helpful)
Stitches Used:
- Chain stitch
- Stacked single crochet (back loop only)
- Double crochet (back loop only)
Step 1: Create the Foundation Chain
Chain 280 + 3 stitches in total for the starting row. The 280 stitches are for the length of the scarf and the additional three chains will count as the first double crochet stitch. In this step, you can use stitch markers or a stitch counter to count the chains. If you are using stitch markers, add one to every tenth chain to stay on track.
Step 2: First Row: Double Crochet Across
Insert your crochet hook into the third chain from the hook. The three chains will create your first double crochet stitch. For the rest of the row, you can do double crochet stitches across the row. If you are an absolute beginner and have never crocheted or done the double crochet stitch before, you can check out my Basic Crochet Stitches Tutorial. It teaches you the main crochet stitches to get you started on your journey.
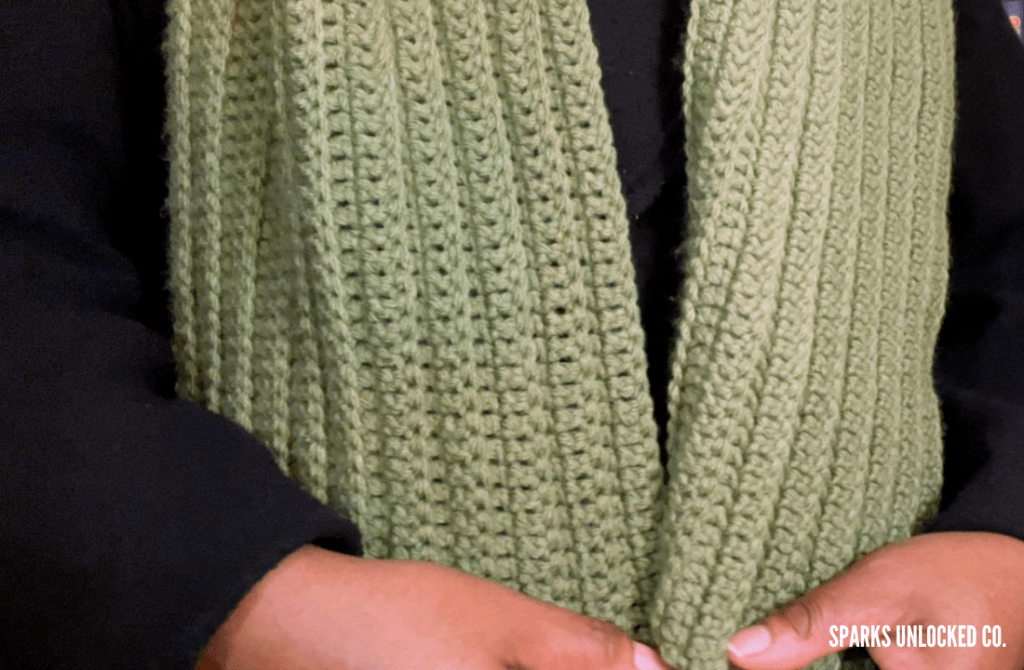
Step 3: Build Texture with the Back Loop Double Crochet
When you’ve completed the double crochet stitches across the remaining 280 chains in step 2, turn your work. Start off with two stacked single crochets in the back loop (please see the video tutorial for reference). After completing the two stacked single crochets, insert your hook into the back loop of the next stitch and make a double crochet. Continue to do this for the rest of the row.
Usually, when working with double crochet stitches, you turn your work, chain 3, and continue down the row with double crochet stitches. However, I noticed this method doesn’t always produce a straight edge. Stacked single crochets are a useful hack when you prefer neater edge on your work.
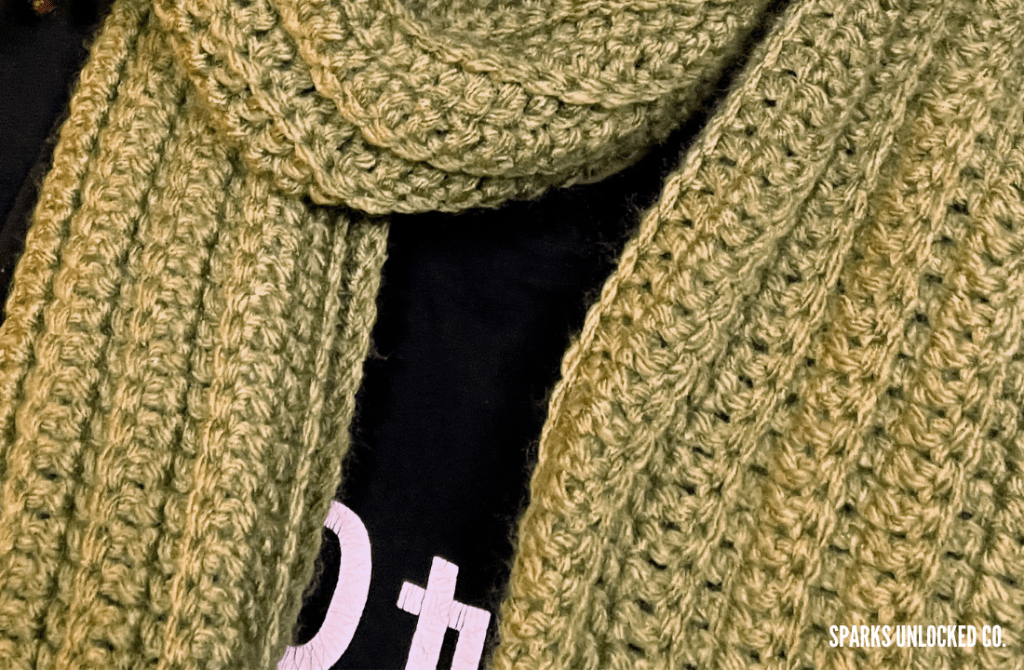
Step 4: Continue Rows and Finish
Repeat Step 3 until you reach your desired width. In this tutorial, I did 21 rows in total. When you get to your desired width, fasten off the yarn with the embroidery scissors and weave in any loose ends or tails with your weaving or finishing needle.
If you prefer the tassel-free option, congratulations, your work here is done! Go ahead and wear your cozy scarf to your heart’s content.
Step 5: Optional Step: Add Tassels
For those who prefer to have tassels on their scarves, this step is for you:
Measure the yarn to 7 inches. Fold the yarn 4 times to make 4 tassels (fold as many times as you want to get the number of tassels you want on your scarf). Snip the ends and add the folded part of the tassel to the weaving or finishing needle. Insert the tassels through the back of the scarf and attach them to each row with the weaving or finishing needle. Knot the tassel securely and cut the tassels to your desired length. For this tutorial, the tassels were cut to 5 inches.
Step 6: Finishing Touches
Weave in any missing loose ends and enjoy your new handmade scarf!
This scarf is great for fall and winter, keeping you warm and cozy as the weather gets colder. I hope you all enjoy making this scarf as much as I did! If you are reading this, thank you for taking the time to check out this pattern!
If you enjoyed this post and video tutorial, please head over to the video and let me know what you think in the comments section. Your feedback is greatly appreciated! You can also subscribe to my YouTube channel for more crochet tutorials. Thank you for being here. I’ll chat with you soon. Good day or good night!
RELATED POSTS:
Hi, I’m Kerri Olivia, an author, fiber artist, entrepreneur, and founder of Sparks Unlocked Co. At Sparks Unlocked Co., we help fellow readers and crafters find beauty, comfort, and meaning in slow living through crochet and knitting tutorials, book recommendations, and storytelling. Join in on these conversations with me via my YouTube and Pinterest.
For FREE crochet and knitting patterns sent straight to your inbox and discounts on EVERY printable pattern, join my newsletter here.
Disclaimer:
Affiliate links may be included in this post. By purchasing a product or service with the links provided, I may receive a small commission with no additional charge to you. Thank you for supporting Sparks Unlocked Co., so that I can continue providing you with free content!
Discover more from
Subscribe to get the latest posts sent to your email.


2 thoughts on “Easy Crochet Scarf Tutorial for Beginners | Video Tutorial + Written Instructions”